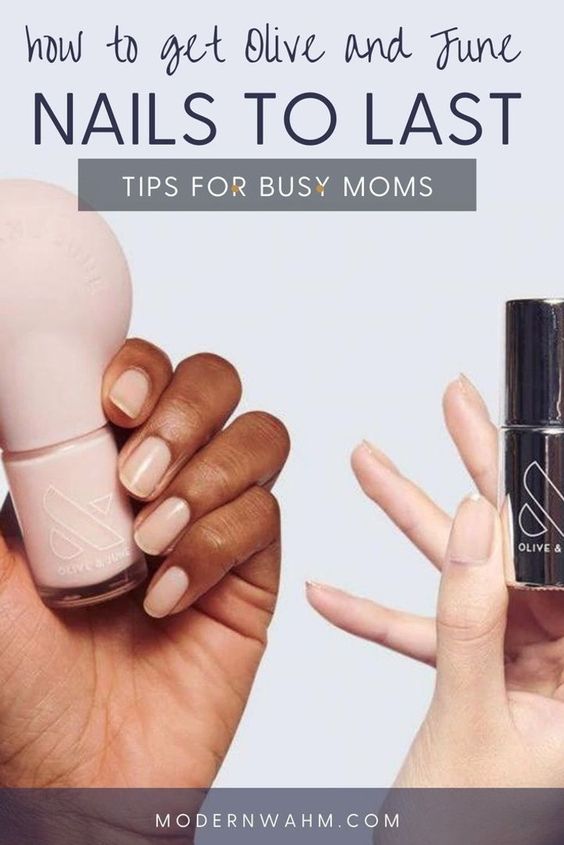
Do you love polished nails, but have completely given up because kids, housework, chores, and life make it impossible? I want to show you with this Olive and June tutorial how Olive and June have the perfect mani system for painting your nails at home – even for busy moms. Make sure you use these Olive and June steps and tips to maximize your at home manicure!
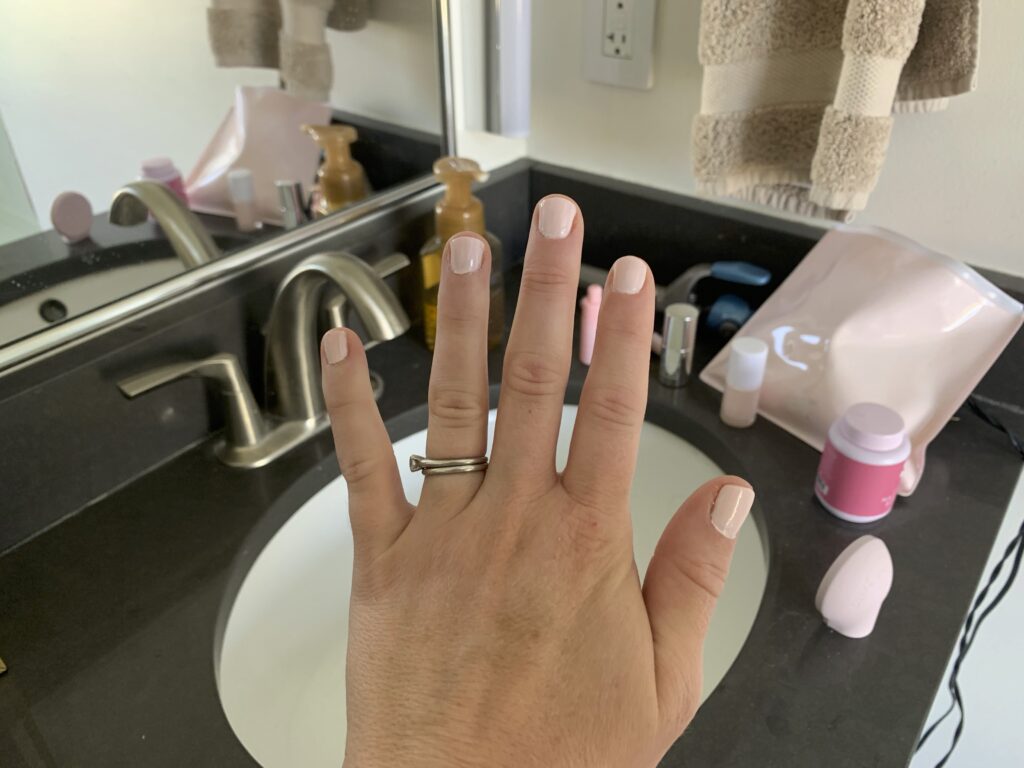
What kind of manicure do you like? Since you are checking out Olive and June, I bet you like a polished nail, but don’t have the money or time to make it to the salon every month. I’m right there with you.
I used to have an entire set of OPI, and would collect the new OPI releases like trading cards. Once I had kids, though, I just couldn’t keep it up.
Why paint your nails if they just would get smudged? If they would chip when I separate legos? If giving my kids baths ruined the whole thing?
But, I know that I love a good manicure. And more than that, I just love having pretty hands that aren’t all beaten up. I like to have confident pretty hands.
Olive and June 20% Off
Olive and June Tutorial for Beautiful Nails
A few years ago, I started looking into gel manicures at home. I watched all the YouTube videos, because I new that I could find a system that worked. And in the process, I stumbled upon Olive and June.
Now, I quickly found out that Olive and June was the “new system for at home manicures”. They boasted long wear time, instantly dry nails, and polished nails that actually looked good and didn’t smudge.
But I still was credulous. Was Olive and June worth it? Was it better than an at-home gel set? It still would only last a few days. Was Olive and June worth it?
I quickly realized that starting down the gel road would take HOURS every week, and would look really messy at the beginning. It took time to perfect an at-home gel manicure. Knowing me, I wouldn’t put enough time into it to perfect it.
So, instead I decided I wanted to try Olive and June. I watched this video, and was sold:
Olive and June Mani 101
So here is a quick Olive and June history. The company was started by Sarah Gibson Tuttle in California in 2013 to make at-home manis easier. (She’s an awesome follow on Instagram!)
Olive and June makes regular nail polish EASY and FUN for regular women.
Following founder Sarah Gibson Tuttle’s Olive and June tutorial above, this is what I quickly wanted to try with my first Olive and June Mani 101:
- Shaping my nails better
- Mastering my cuticles
- Polishing my right hand (dominant hand)
- Actually enjoying an at-home manicure
Before I get started, I wanted to assure you that I still get chips with Olive and June. It’s SO MUCH better than with OPI, but it still chips. It’s not magic.
That said, the confidence I feel with Olive and June is 100% more than with OPI – even with the chips. I never have smudged nails. I never have clumpy polished nails. In fact, I honestly have like a perfect manicure every time.
And, I know some people say that their Olive and June manicure lasts 7 days. But, mine doesn’t. Mine usually chips by day 3-4. But it’s still ok! I still love it and it’s still the best at-home manicure I’ve ever tried.
I’m not going to repeat everything that Sarah Gibson Tuttle says in the Olive and June tutorial video below. Just go watch it! But I am going to repeat the things that work for me and make my Olive and June manicure last longer.
BEGINNER SYSTEM & POLISH
The first thing you need to know with this Olive and June tutorial, is that Olive and June is about THE MANI SYSTEM. If you just buy the polish by itself, it will work, but not that great. You need the whole system to give yourself the best nail life.
So, go here and grab your starter system. Believe me, YOU WILL LOVE IT.
Secondly, you don’t need to start with a lot of polish. I started with just one color, and built my collection from there. But, let me tell you. I GOT THE WRONG COLOR.
Which Olive and June color should you start from? You need to start with one of the colors in their Beginner Level categories. These nail polishes are the easiest, and go on without many coats.
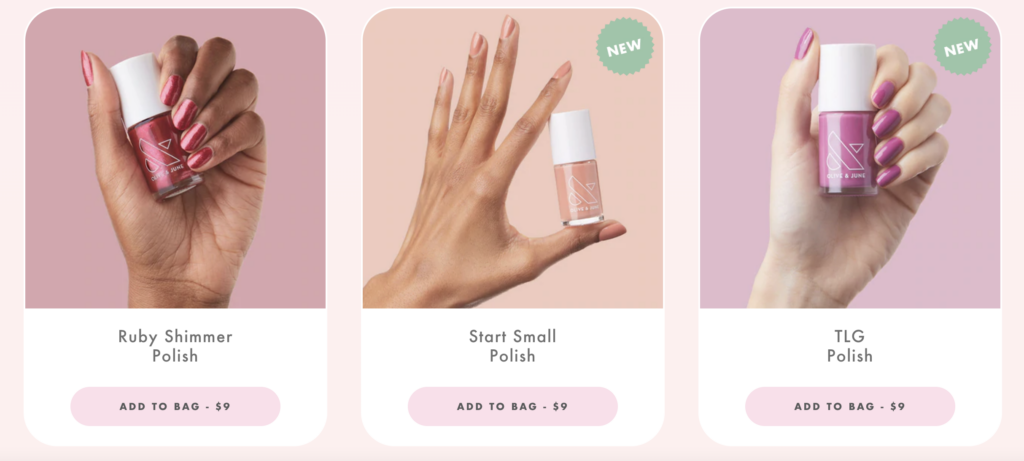
Olive and June Nail Polish Review
Ok, here’s my Olive and June Nail Polish Review.
The polish itself is thick and luxurious. It goes on smooth and doesn’t clump AT ALL.
The brush is wide and flat, and cover an entire pinky nail in one swipe. It only takes 1-2 swipes for a larger nail. It is MAGICAL. This is why I won’t go back to OPI. The brush is 100% better.
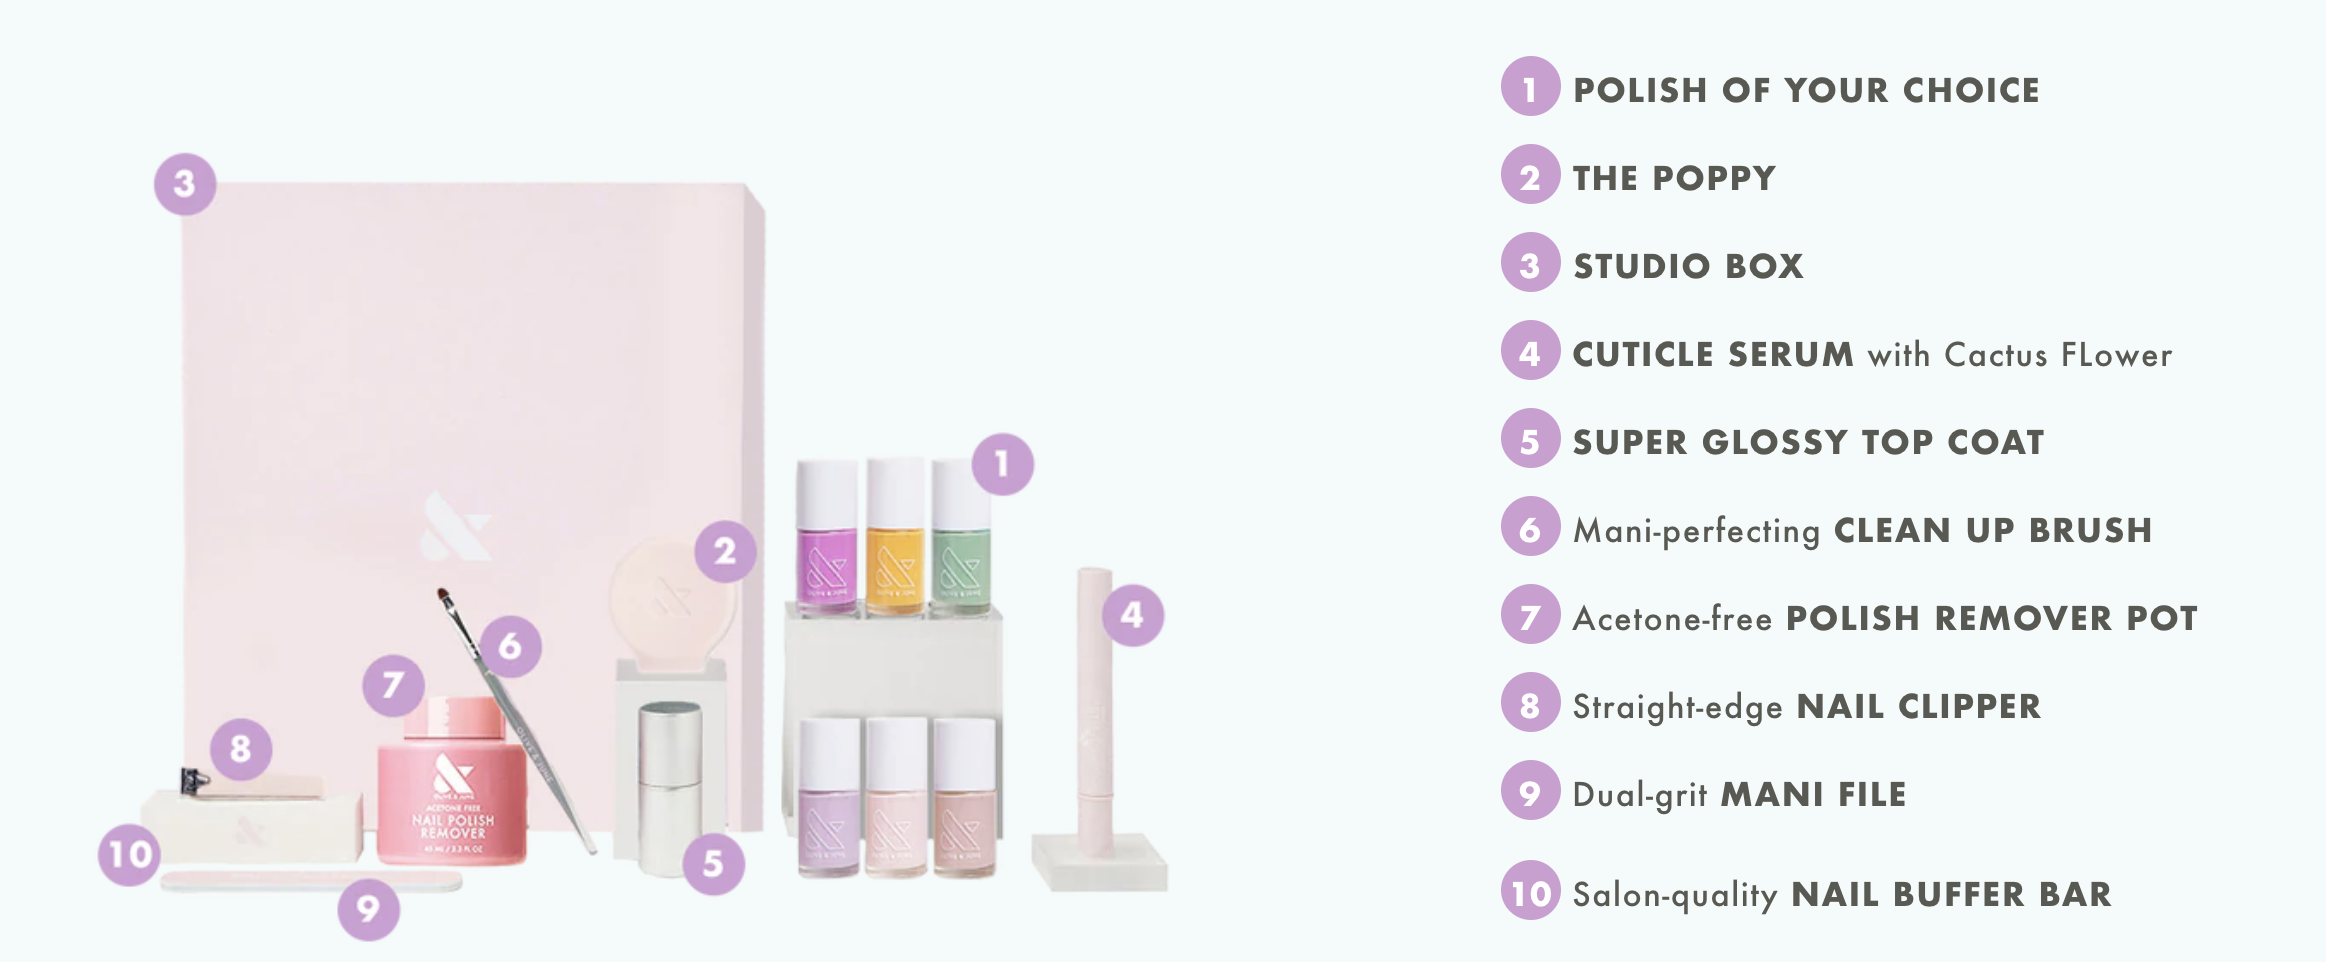
1. The Poppy
The Poppy is a magical grip to put on the top of your nail polish brush. It allows you to paint with your non-dominant hand perfectly. I mean perfectly.
I used to dread painting my right hand (dominant hand). And now, I don’t even think twice because it will look perfect every time.
2. Olive & June Cuticle Serum
This stuff really works! I”m not super consistent putting it on my cuticles. But if you put it on over your mani, and after a warm shower, it does an amazing job softening your cuticles. You can also use a cuticle pusher. No need to clip your cuticles any more!
3. Super Glossy Top Coat
The Top Coat is where the magic is. It’s shiny, and thick, and locks the color in. This is what makes the polish last SO LONG. Keep reading for my other favorite products.
For best results, use the top coat every night for the first 2-3 nights. I used to think this was a pain. But now I enjoy swiping it before bed. Super easy, and prolongs your nail polish like no other!
4. Nail Polish Remover Pot
This is one of my favorite things! The nail polish pot takes off your nail polish in SECONDS. Also, if you are traveling on an airplane, this is an easy way to travel with your nail polish.
But, be warned. It does tend to make my nails brittle. When I started with Olive and June, I noticed that my nails broke a lot. When I switched to a drug store polish removal, that went away. (Sometimes I do pour my drug store remover into the Olive and June pot just to combine the best of both worlds!)
5. Dry Drops
THESE ARE MAGIC. Add this on to your Olive and June order. Even if you think you don’t need them. Your nails will never ever again be smudged. MAGIC MAGIC.
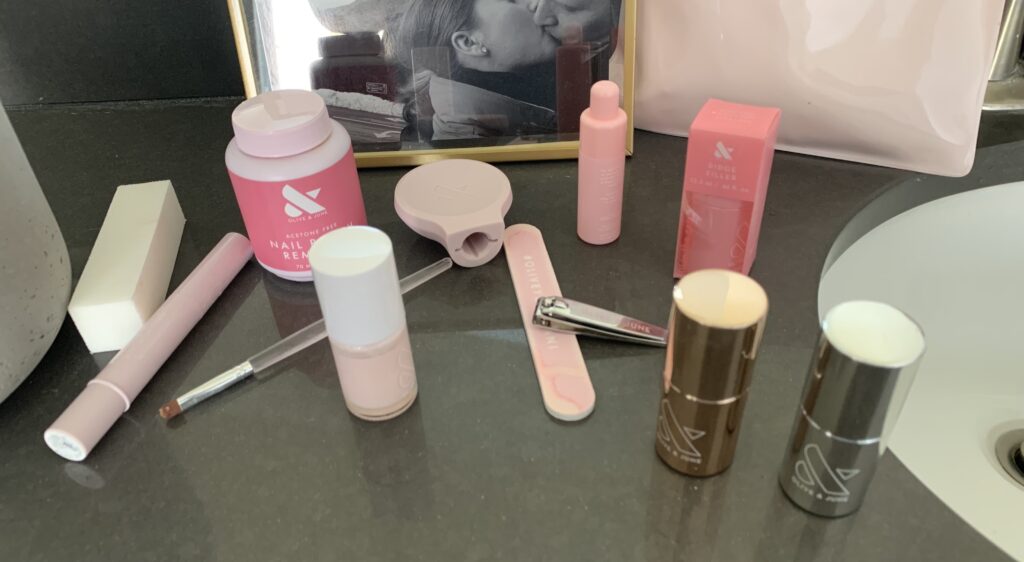
Prep Tips
1. Shape
I think one of the biggest things that SGT’s Olive and June tutorial helped me with was shaping me nails. I’ve always hated how I file my nails. But learning Olive and June’s 90/10 rule changed my nails. Now I cut 90% of the shape, and then 10% file is life-changing. (Their nail clipper is so straight and sharp – way better than the kind of was using before!)
2. Use the nail polish remover again!
After I shape my nails and use the buffer, I use the nail polish pot again, and don’t touch the nails. This is vital for clean nails ready for polish. An awesome trick! Thank you, Sarah Gibson Tuttle!
5 tips to make polished nails last LONGER
If you are a busy mom looking for ways to make your Olive and June nail polish last longer, here are my top 5 tips!
- Shaping – Round nails hold nail polish easier than square nails. I still prefer square nails, but the corners chip easily. To make your nail polish last longer, file the corners with your clippers to have smoother sides.
- Nail Polish – Choose an Olive and June nail polish from their Beginner level! These paint easier and last longer!
- Nail Polish – Paint really thin layers. The thinner the better. This allows the paint to not be chipped when it’s dry and a little thicker.
- Top Coat – Paint your top coat after your last layer is dry. Let it dry fully and then paint your top coat. Also, paint a top coat for the first 2-3 nights after you polish your nails. This will make it last longer!
- Follow-up – Personally, I’m really rough on my hands. But, when I use plastic gloves to wash dishes, or other tricks to not use my hands as much, my nails last longer!
HUGE TIP! Your nails will last a lot longer in a humid climate. When I travel to the southeast, my nails last way longer than a week. When I travel to a dry climate (like the midwest), they barely last 5-6 days. Just keep this in mind!
Olive and June 20% Off
FAQ
-
Is Olive and June Worth The Hype?
Olive and June has made at-home manicures easy and perfect. The perfect system removes the possibility of smudging, clumping, and uneven nails. 100% worth it.
-
Does Olive and June ruin your nails?
Nope! The nail polish formula is made with only the best ingredients. Olive and June nail polish is free of the seven harmful chemicals commonly found in nail polishes including dibutyl phthalate (DBP), toluene, formaldehyde, formaldehyde resin, camphor, Ethyl Tosylamide or xylene. The formula is also vegan and cruelty free.
-
How Long Does Olive and June Last?
Many people see Olive and June nails last 7-10 days! As a mom, they last 3-7 days, but are still SO WORTH it!
-
Do you have a discount code?
Yes! Click here and get 20% off your first nail system!
You might also like:
Self Care for Working Moms – 30 Incredible Tips from Real Moms
Flying with breast milk – The BEST guide for working traveling moms

